Remember not so very long ago when I did a post on how to use white transfer paper? And do you remember that I never had used transfer paper before? You’ll be pleased to know that I finished the project – and here it is! My skeleton pumpkin, or “skelle-punkin’” if you will. I’m very happy with the results, and I promised to come back and give you a tutorial on how I did it. My friends, I always keep my promises.
In case you are joining for the first time, here’s a list of supplies that I used on this project:
- Craft pumpkin – I used Celebrate It brand from Michaels
- Skeleton clip art printed out to fit the pumpkin – I got mine from
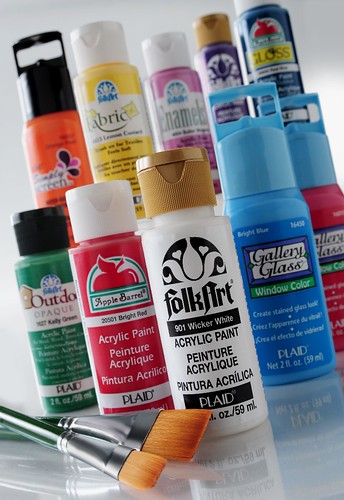
- FolkArt Paint – Licorice, Dove Gray, Metallic Silver Sterling
- – Silver Glitter
- Purple craft leaves – again, Celebrate It from Michaels
- Paintbrushes in two sizes – small and large
- Hot Glue Gun
- Pipe Cleaners, black
- White transfer paper and stylus
- Tape

If you remember, we left off here, with the clip art image having been transferred to the pumpkin. To catch up, paint your pumpkin with Licorice until fully covered, allow to dry and then use this tutorial to transfer the image to the front of the pumpkin.

Use your small brush to paint in the skeleton design with Dove Gray. Follow the transfer paper lines as closely as you can. Keep painting until you’ll filled the skeleton completely in and then allow to dry. Don’t forget the stem.

Use your small brush and Metallic Silver Sterling to paint over the Dove Gray. It gives it a nice little sheen. Cover and then allow to dry. Paint the stem too. You are so close to being done you can’t imagine. By the way, does this photo look like I’m painting in a basement?

Coat your pumpkin with several layers of Glitter Mod Podge, allowing to dry between coats. This should sparkle nicely on the black paint! Set aside and allow to dry.

While you are waiting for the pumpkin to dry, take some of your leaves and glue onto the ends of pipe cleaners. You should use your hot glue gun; I’m A.D.D. so I grabbed the glue that was sitting right there.

Once dry, wrap the pipe cleaners around your finger to make a curled vine effect.

Using your hot glue gun, attach the pipe cleaner “vines” to the top of the pumpkin, then start attaching leaves. Glue leaves down until you feel your pumpkin has enough – basically to your heart’s content!
Let the glue cool before placing out, and then enjoy your spooky decoration. If you would like to set outside, make sure to spray with a waterproof enamel sealer.
This project is linked up to the . Please visit there for more fun ideas!


